

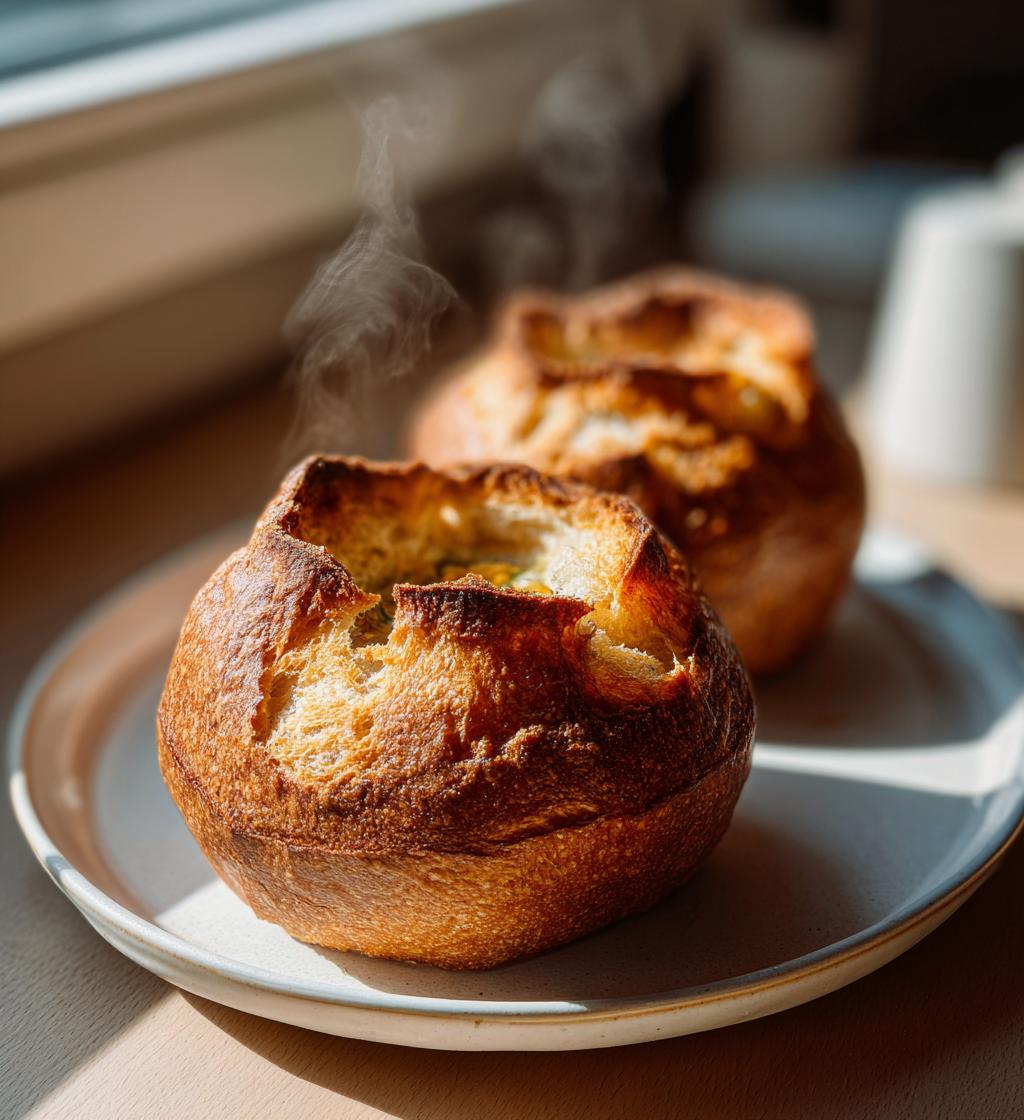
There’s something truly delightful about making bread bowls from scratch. The aroma of freshly baked bread wafting through your kitchen is enough to make anyone’s mouth water. These edible bowls are not only a fun way to impress your guests, but they also add a unique twist to traditional soups and salads. Imagine serving your favorite creamy tomato soup or a vibrant garden salad in a warm, crusty bread bowl that you created with your own hands. I remember the first time I made bread bowls for a gathering; everyone was amazed at how delicious and functional they were. They quickly became a staple at my family gatherings, bringing both joy and flavor to the table. Whether it’s a chilly evening or a sunny picnic day, bread bowls are the perfect accompaniment, making every meal feel special and memorable.
Ingredients List
- 2 cups all-purpose flour: This is the primary ingredient that forms the base of your bread bowls, providing structure and texture.
- 1 teaspoon salt: Enhances the flavor of the bread and controls yeast activity.
- 1 tablespoon sugar: Aids in the yeast activation process, helping the dough rise and adding a hint of sweetness.
- 1 packet active dry yeast: The leavening agent that causes the dough to rise, creating a light and airy structure.
- 1 cup warm water: Activates the yeast; ensure the water is warm but not hot to avoid killing the yeast.
- 2 tablespoons olive oil: Adds moisture and richness to the dough, resulting in a tender bread bowl.
How to Prepare Bread Bowls
Preparing bread bowls is a rewarding process that combines simple ingredients with a straightforward method. Follow these steps carefully to ensure your bread bowls come out perfect every time.
Step-by-Step Instructions
- Activate the Yeast: In a medium bowl, combine 1 cup of warm water, 1 packet of active dry yeast, and 1 tablespoon of sugar. Stir gently to mix, then let it sit for about 5 minutes. This step is crucial as it allows the yeast to activate and become bubbly, which is essential for a good rise.
- Mix the Dry Ingredients: In a large bowl, combine 2 cups of all-purpose flour and 1 teaspoon of salt. The salt should be added to the flour and not directly to the yeast mixture, as it can inhibit yeast activity if introduced too early.
- Combine Everything: Once the yeast mixture is bubbly, pour it into the bowl with the flour and salt. Add 2 tablespoons of olive oil. Use a wooden spoon or your hands to mix the ingredients until a shaggy dough starts to form.
- Knead the Dough: Transfer the dough to a lightly floured surface. Knead the dough for about 8–10 minutes until it becomes smooth and elastic. This step is vital for developing gluten, which gives the bread structure. If the dough is too sticky, sprinkle a little more flour as needed, but be careful not to add too much.
- First Rise: Place the kneaded dough in a greased bowl, cover it with a clean kitchen towel or plastic wrap, and let it rise in a warm, draft-free area for about 1 hour, or until it has doubled in size. This is the fermentation stage where the dough gathers flavor and airy texture.
- Shape the Bread Bowls: After the dough has risen, punch it down to release excess air. Divide the dough into 4 equal portions. Shape each piece into a ball and then flatten it slightly to form a bowl shape. You can make a deeper bowl by using your fingers to press down the center while keeping the edges thicker.
- Second Rise: Place the shaped dough bowls on a baking sheet lined with parchment paper. Cover them again and let them rise for an additional 20-30 minutes. This second rise gives the bowls a lighter texture.
- Bake: Preheat your oven to 375°F (190°C). Once the bread bowls have risen, bake them in the preheated oven for 20-25 minutes, or until they are golden brown and sound hollow when tapped on the bottom.
- Cool and Serve: Remove the bread bowls from the oven and let them cool slightly on a wire rack. Once cooled, use a serrated knife to carefully carve out the insides of the bowls if you want to create more space for filling. Serve warm with your favorite soup or salad!
Why You’ll Love This Recipe
- Quick and Easy: With just a few simple ingredients and easy steps, you can whip up delicious bread bowls in no time.
- Versatile: These bread bowls can be filled with a variety of soups, salads, or even dips, making them perfect for any occasion.
- Impressive Presentation: Serving food in edible bowls adds a fun and creative touch to your meals, impressing family and friends.
- Customizable: You can experiment with different flavors by adding herbs, spices, or cheese to the dough for a unique twist.
- Great for Gatherings: Perfect for parties or gatherings, bread bowls are a hit that everyone will enjoy!
🍴 Top Kitchen Essentials You’ll Love




Tips for Success
To ensure your bread bowls turn out perfectly every time, keep the following tips in mind:
- Kneading: Proper kneading is essential for developing gluten, which provides structure to your bread bowls. Aim for a smooth and elastic dough; if it’s too sticky, add a small amount of flour, but avoid over-flouring.
- Rising: Ensure your dough rises in a warm, draft-free environment. If your kitchen is cool, you can place the dough in an oven with the light on, or near a warm stovetop, to encourage yeast activity and proper rising.
- Baking: Keep a close eye on your bread bowls while baking. They should be golden brown and sound hollow when tapped on the bottom. If they bake too long, they can become dry, so check for doneness a few minutes early.
- Cooling: Allow the bread bowls to cool on a wire rack instead of in the pan, which helps prevent sogginess at the bottom.
Nutritional Information
When enjoying your homemade bread bowls, it’s helpful to be aware of their nutritional content. Each bread bowl contains approximately:
- Calories: 150
- Fat: 3g
- Saturated Fat: 0.5g
- Unsaturated Fat: 2g
- Trans Fat: 0g
- Cholesterol: 0mg
- Sodium: 300mg
- Carbohydrates: 28g
- Fiber: 1g
- Protein: 4g
- Sugar: 1g
These values are estimates and can vary based on specific ingredients used and portion sizes. Enjoy your delicious and nutritious bread bowls as a fun and satisfying meal option!
FAQ Section
What can I fill bread bowls with?
Bread bowls are incredibly versatile and can be filled with a variety of delicious options. Some popular choices include creamy soups like clam chowder, tomato basil, or broccoli cheddar. You can also use them for hearty salads, chili, or even dips like spinach-artichoke or guacamole. The options are only limited by your imagination, so feel free to get creative with your fillings!
How do I store leftover bread bowls?
To store leftover bread bowls, place them in an airtight container at room temperature for up to two days. If you need to keep them longer, consider freezing them. Wrap each bread bowl tightly in plastic wrap and then place them in a freezer-safe bag. They can be frozen for up to three months. When you’re ready to enjoy them again, simply thaw at room temperature and reheat in the oven for a few minutes to restore their freshness.
Can I make bread bowls in advance?
Yes, you can prepare bread bowls in advance! You can shape the dough into bowls and let them rise, then cover and refrigerate them for up to 24 hours before baking. Just be sure to let them come to room temperature before baking, as this will help ensure even cooking and a good rise.
What type of flour is best for bread bowls?
All-purpose flour works great for making bread bowls, but you can also experiment with bread flour for a chewier texture. Bread flour has a higher protein content, which can help create a more structured and airy bowl. However, for a simple and reliable recipe, stick with all-purpose flour.
Can I make these bread bowls gluten-free?
Absolutely! To make gluten-free bread bowls, substitute the all-purpose flour with a gluten-free flour blend that includes xanthan gum. This will help mimic the elasticity and structure of traditional bread. Just be sure to follow the specific guidelines for the gluten-free flour you choose, as they can vary in absorbency and rising properties.
Storage & Reheating Instructions
To store leftover bread bowls, place them in an airtight container at room temperature for up to two days. For longer storage, wrap each bread bowl tightly in plastic wrap and then place them in a freezer-safe bag. They can be frozen for up to three months. When you’re ready to enjoy them again, thaw the bread bowls at room temperature. To reheat, preheat your oven to 350°F (175°C) and bake the thawed bread bowls for about 5-10 minutes, or until they are warmed through and regain their crusty texture. Enjoy your delicious bread bowls fresh out of the oven!
Print
Bread Bowls
- Total Time: 40 minutes
- Yield: 4 bread bowls 1x
- Diet: Vegetarian
Description
Delicious edible bowls made from bread, perfect for serving soups or salads.
Ingredients
- 2 cups all-purpose flour
- 1 teaspoon salt
- 1 tablespoon sugar
- 1 packet active dry yeast
- 1 cup warm water
- 2 tablespoons olive oil
Instructions
- In a bowl, combine warm water, yeast, and sugar. Let it sit for 5 minutes.
- Add flour, salt, and olive oil to the mixture. Knead until smooth.
- Cover the dough and let it rise for 1 hour.
- Preheat the oven to 375°F (190°C).
- Divide the dough into small balls and shape them into bowls.
- Place the dough bowls on a baking sheet and bake for 20-25 minutes.
- Let cool before serving.
🍴 Top Kitchen Essentials You’ll Love
Notes
- Use a serrated knife to carve out the insides of the bowls.
- Store leftover bread bowls in an airtight container.
- Experiment with different toppings and fillings.
- Prep Time: 15 minutes
- Cook Time: 25 minutes
- Category: Appetizer
- Method: Baking
- Cuisine: American
Nutrition
- Serving Size: 1 bread bowl
- Calories: 150
- Sugar: 1g
- Sodium: 300mg
- Fat: 3g
- Saturated Fat: 0.5g
- Unsaturated Fat: 2g
- Trans Fat: 0g
- Carbohydrates: 28g
- Fiber: 1g
- Protein: 4g
- Cholesterol: 0mg
Keywords: bread bowls, edible bowls, soup bowls